Face Rigging in Blender 2.8 Tutorial Download now
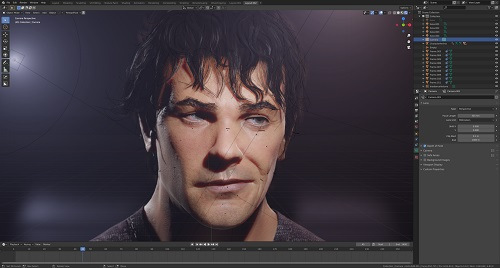
In the begging, after a small introduction to Face Action Coding system and some advice on organizing the work, I will walk you through the process of sculpting necessary expressions. I’ll show you how to utilize references, and give some tips and tricks on forming the face, managing stretches and sculpting important wrinkles. In the sculpting process I will be using ZBRUSH, but after some minor workflow adjustments you can without a problem do it in BLENDER (I show how to sculpt realistic face just in Blender in my “Realistic Face Creation in Blender” course.
Afterward, we will take all of the expressions sculpted in Zbrush and implement them to the face rig. Face deformations will be made by shape keys driven by the bones. Moreover, we will use high detail information made in Zbrush to create Dynamic Wrinkle System in Eevee (it works in Cycles as well).
Then I’ll show you how to make your animation work way more convenient, by creating puppeteering systems for a more intuitive animating process.
In the end, I’ll present to you, how to prepare your rig for the export to Unreal Engine. And how to set up the Dynamic Wrinkle system in it as well.
01. Introduction.mp4
02. Exp. Smile And Sad.mp4
03. Exp. Contempt And Angry.mp4
04. Exp. Disgust And Surprise.mp4
05. Additional Shape Keys.mp4
06. Additional Shape Keys.mp4
07. Additional Shape Keys.mp4
08. Additional Shape Keys.mp4
09. Basic Bone Rigging.mp4
10. Importing Shape Keys – Part 1.mp4
11. Importing Shape Keys – Part 2.mp4
12. Corrective Shape Keys.mp4
13. Bones And Drivers Setup.mp4
14. Visual Controlers Setup.mp4
15. Wrinkle Map Preparation.mp4
16. Eevee Dynamic Wrinkle System.mp4
17. Eyes Shape Keys And Facial Hair.mp4
18. Face Rig Puppeteering System.mp4
19. Rig Preparation To Export.mp4
20. Unreal Dynamic Wrinkle System.mp4


