Professional Color Grading Techniques In Davinci Resolve Download Now
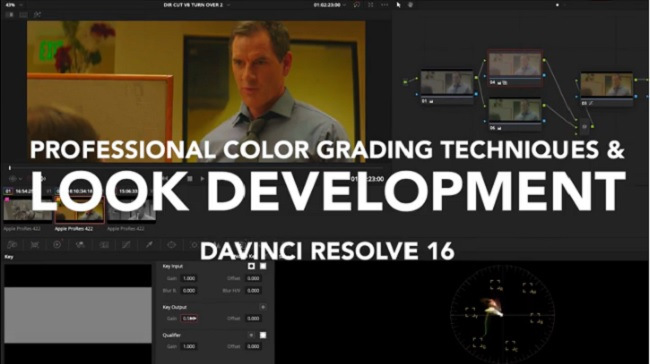
This course provides colorists with an in-depth overview of professional color grading techniques and look creation in DaVinci Resolve 16.
The main concepts discussed in the course are advanced contrast management, balancing techniques and look development. The focus is primarily on higher end color grading, color theory and teaching techniques that took professional colorists years of experience to master.
The course is presented by Kevin P. McAuliffe but is created together with professional colorists that have contributed with insight about their work methods. Kevin uses DaVinci Resolve 16, but it is taught with the goal of showing techniques that can be used in any color corrector.
The footage used in this course is available for download so that you can easily follow along. In addition, we have included power grades so that you can deeply study the node structures and color grading techniques demonstrated in the course, and a free sample of 35mm film grain from our friends over at Cinegrain.
COURSE OVERVIEW
LESSON 01: S-CURVE MANIPULATION
The curve is the key component of contrast creation, and in the first lesson we look at the basics of the curve and curve shaping.
LESSON 02: CORRECTIONS IN LOG SPACE AND GAMMA SPACE
We continue to explore how brightness affects the curve in log- and gamma space, and how to manipulate the curve in a log workflow.
LESSON 03: COMPRESSION TECHNIQUES
In this lesson we look at how to disturb the luma vs. distance ratio of the curve with compression techniques to challenge the contrast and create a printed look. This technique is often used as a base to create a painterly feeling with limited dynamic range.
LESSON 04: LOW LUMA COMPRESSION TECHNIQUES
We dive deeper into compression techniques and how to compress low luminance levels, add speculars and details with gamma stretching and the log controls.
LESSON 05: PRINTER LIGHTS FUNDAMENTALS
Now that we have a better understanding of contrast management, we look at the fundamentals of printer lights that we will use to balance and create looks later in the course.
LESSON 06: PRINTER LIGHTS WORKFLOW
In this lesson we look at using printer lights in a log workflow and watching the results through our curves.
LESSON 07: BALANCING TECHNIQUES
Now it’s time to analyze and match shots with the help of what we have learned about printer lights. We also take a closer look into using the RGB-parade and the vectorscope. We will also discuss some thesis questions related to balancing in general.
LESSON 08: BOUNCING TO CREATE LOOKS
We are ready to create our first desaturated and moody look by bouncing in colors though a defined node structure.
LESSON 09: UNDERSTANDING COLOR HARMONY
Colorists need to understand what makes an image look pleasant to the eye and in this lesson we discuss the important of color harmony. We are building on the look from the previous lesson to create color separation and tweek the colors into an analogous color scheme.
LESSON 10: COLOR CHANNEL MIXING TO CREATE UNIQUE LOOKS
In this lesson we look at how to create a modern and cold look with the help of channel mixing and opacity control.
LESSON 11: GRIT AND TEXTURE
We will go though techniques to bouncing luma controls agains each other to bring out texture, create silver tints to add rawness, clip the blacks and advanced sharpen techniques to bring out grit.
LESSON 12: NODE COLOR MIXING
Node color mixing is a very important skill to master for every colorist, and by combining colors and strengths we will get access to unlimited color combinations that can be used in look development. We will see how our color combinations blends onto the tonal range we have established.
LESSON 13: PIPING A KEY DOWNSTREAM
In this lesson we work with separate streams and color transforms to pipe super clean keys.
LESSON 14: LOCAL EDGE SOFTENING
This lesson is about isolating the local edges in the images and working with them to create a softer image without loosing the overall sharpness.
LESSON 15: CREATING VOLUME IN THE WHITES
We will look at another important compression method for creating volume in the highlights and reduce the sharp thin feeling of digital images.
LESSON 16: EVENING OUT SKIN TONES
Going through a very popular technique to even out skin tones and take care of imperfections.
LESSON 17: SOFT SATURATED LOOKS
In this lesson we will dial in a soft contrast and create color contrast with varying hue strenghts.
LESSON 18: FILM EMULATIONS AND GRAIN TECHNIQUES
In our final lesson we will create a new look with a Film Emulation LUT, the log controls and add texture with a 35mm fine grain sample (that you will get for free sponsored by Cinegrain). We will look at different techniques to enhance the structure of the grain.


